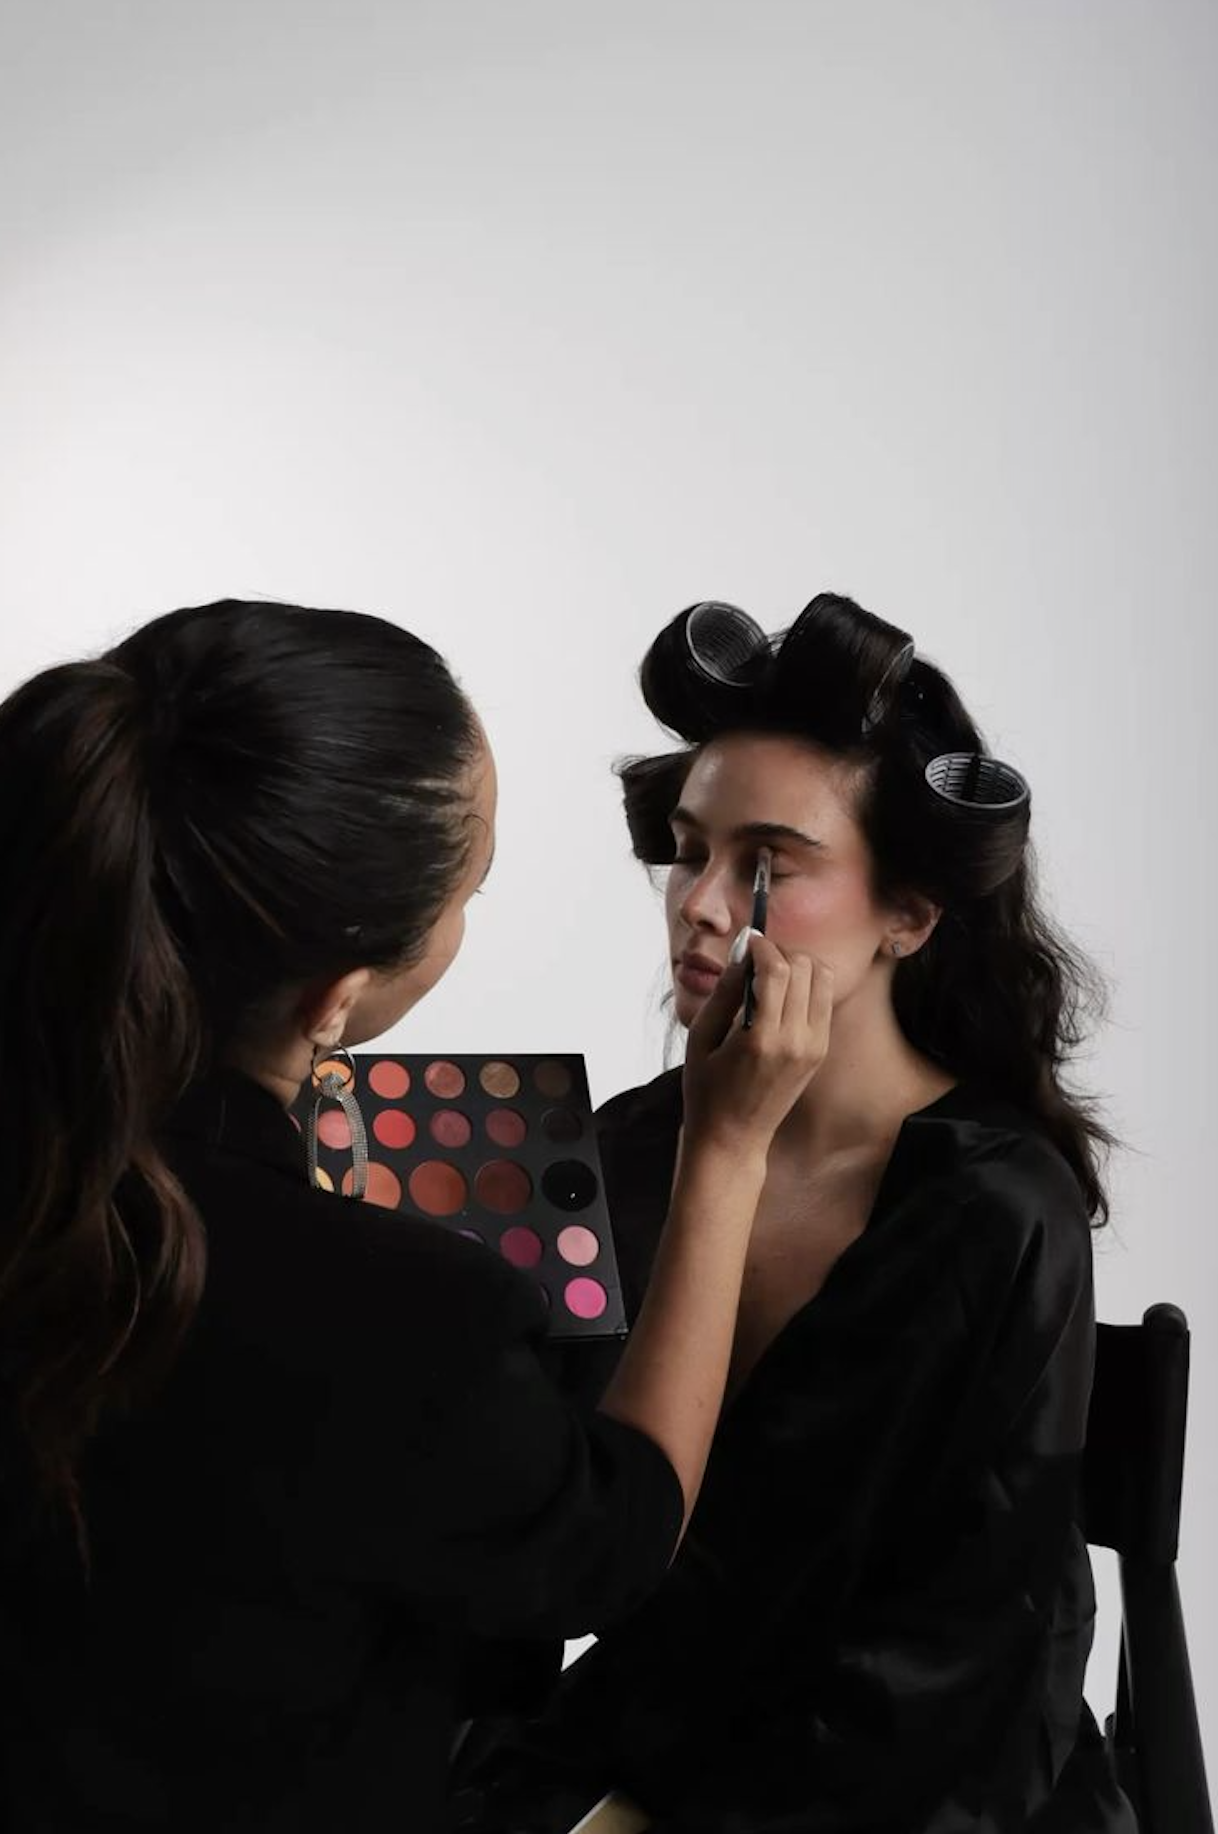
Makeup that looks perfect to the naked eye can become a disaster under the lens. A complexion turning ghostly white, shiny skin, harsh features... The photo shoot makeup follows precise technical rules that many are unaware of.
Whether you're a beginner makeup artist, a model doing their own makeup, or a brand preparing a lookbook, these 8 mistakes can turn a promising session into a costly disaster. The good news? Each has a simple solution.
Here are the pitfalls of makeup for photos that every professional makeup artist must master for flawless results in a shoot.
Mistake 1: Using Products with SPF
The problem: This is the #1 mistake in photography makeup. Products containing SPF (foundations, concealers, primers) cause the dreaded "flashback": a ghostly white cast on the face.
Why? SPF ingredients like zinc oxide and titanium dioxide are designed to deflect sunlight. They deflect the camera flash in exactly the same way, creating that unflattering white cast. aol
The solution:
- Ban all "SPF" products on the day of a flash photoshoot
- Choose foundations without sun protection
- If outdoor photoshoot with natural light: SPF is acceptable (no flash)
- Always test with flash before the session
Pro tip: To eliminate any risk of photos with a white cast, use problematic ingredients sparingly and test under direct flash conditions.
Mistake 2: Overusing Translucent Powder
The problem: Too much powder, especially white translucent powder, creates flashback AND a cakey/aging effect in photos.
Why? Silica, a mineral found in many finishing powders, is one of the two main causes of flashback. White powders are generally silica-based.
The solution:
- Powder only the T-zone (forehead, nose, chin)
- Opt for tinted powders (not pure white/translucent)
- Apply with a brush, never with a sponge (excessive product buildup)
- Tap off excess before application
Tip: A colored powder counteracts the effect of SPF. It won't be 100% perfect, but it significantly reduces flashback. aol
Mistake 3: Choosing an Unsuitable Foundation Shade
The problem: Foundation that's too light or has the wrong undertone, creating a visible mask effect and a harsh line between your neck and face.
The solution:
- Choose a foundation slightly darker than your skin for flash photography: this will create a more uniform effect with the rest of your body
- Opt for yellow undertones (they neutralize the white of the flash)
- Always test on your jawline, never on your hand
- Harmonize visible face + neck + décolletage
Mistake 4: Neglecting Skin Preparation
The problem: Dry, dehydrated, or oily skin = makeup that creases, pills, or shines in HD photos.
Why? High-definition photography reveals every textural imperfection, crease, and shiny area.
The solution:
- Full skincare routine 30 min beforehand (hydration is key)
- Primer suited to your skin type (mattifying for oily skin)
- Lip balm beforehand (prevents visible chapping)
- Under-eye patches if dark circles are prominent
Mistake 5: Underestimating the Required Intensity
The problem: Makeup that looks perfect to the naked eye appears dull and non-existent in photos. Photos "eat up" 20-30% of the intensity.
Why? Powerful studio lighting and lens distance reduce contrasts and colors.
The solution:
- Intensify blush, contour, and eye makeup by 20% more than daily wear
- Further define eyebrows
- Structure the eye area (flash photography flattens features)
- Check on screen between shots, adjust
Mistake 6: Overdoing It
The problem: Overuse of products, overly harsh contouring, false lashes that are too heavy = looks artificial and dated in current fashion photography.
The solution:
- For fashion/lookbook shoots: prioritize natural makeup techniques photo-calibrated
- Blended contouring (no harsh lines)
- Natural individual false lashes (not thick strips)
- "Less is more" still holds true even when strategically intensifying.
Key balance: Intensify without overloading. More pigment, not more product.
Mistake 7: Forgetting to Set Makeup
The problem: Makeup that melts, sweats off, or shifts during a long shoot (2-4h) under hot lighting.
The solution:
- Long-lasting professional setting spray (12h+)
- Setting primer before foundation
- Planned discreet touch-ups (tinted powder, not translucent)
- Waterproof mascara for emotional moments/studio heat
Mistake 8: Not Testing Before the Big Day
The problem: Discovering flashback, a mismatched shade, or a product that shows flaws... on the day of the shoot. A costly and stressful disaster.
The solution:
- Mandatory makeup trial a few days before
- Rehearse your photo-ready look by testing it under different lighting conditions
- Photograph the trial with flash + natural light
- Adjust products based on results before the actual shoot
Pro Tip: A flash test is worth a thousand guesses.
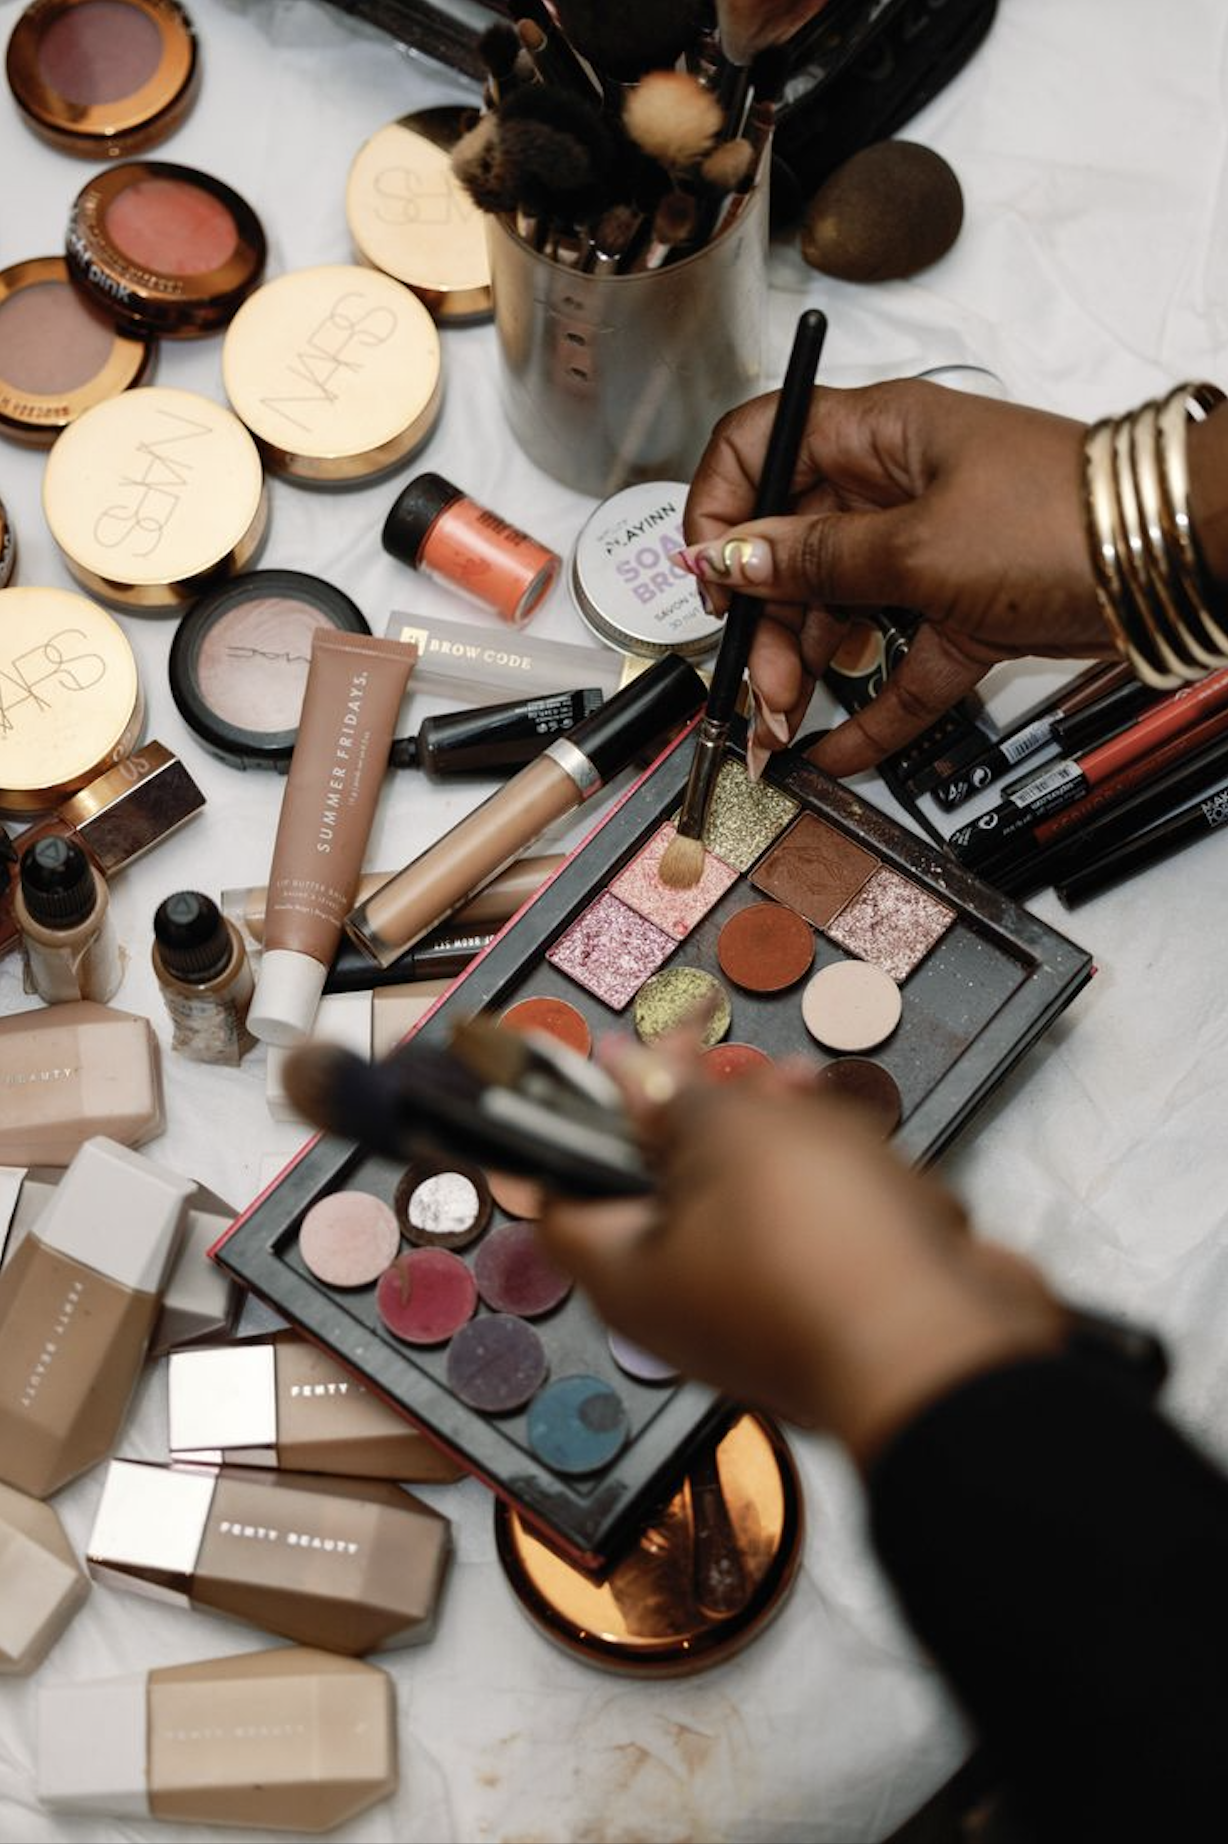
Recap: Shooting Error-Proof Kit
To avoid these 8 pitfalls, your makeup artist kit for photoshoots must contain:
- SPF-free foundation (yellow undertone)
- Tinted powder (never translucent white)
- Pro setting spray long-lasting
- Suitable primer for skin type
- Individual false lashes natural-looking
- SPF-free concealer luminous
Conclusion: Technique in Service of the Image
The Photo shoot makeup is a technical art distinct from everyday makeup. Mastering these 8 mistakes differentiates an amateur makeup artist from the professional sought after by brands.
3 Essential Tips:
- Zero SPF on flash day
- Always test with flash beforehand
- Intensify without overdoing it for the camera
Successful photo shoot makeup is the result of close collaboration between the makeup artist and photographer. On Shaare Agency, makeup artists and fashion photographers connect directly to create professional images together.
Are you a makeup artist? Join the platform to collaborate on shoots with photographers and fashion brands. Preparing for a shoot? Find qualified talent for flawless results.